

I learned a few things along the way, and then made one huge mistake!
The year is 2026. Computer hardware prices are climbing fast. My four-year-old gaming laptop with an RTX 3060 mobile GPU and 6GB of VRAM was starting to struggle with modern AAA titles. It also generated a lot of heat (which is normal for a gaming laptop), and cleaning the dust out of a laptop is much more tedious than cleaning a desktop.
I had recently started using Linux again after about 15 years. Unfortunately, it didn’t play well with my laptop. Modern gaming laptops are surprisingly complicated under the hood. Mine has both integrated and dedicated graphics, a MUX switch that controls how those GPUs connect to the display, and advanced power management features designed to squeeze as much battery life as possible out of the hardware. Windows handles all of that without much thought, but Linux support still isn’t there on many laptops. The laptop worked better with Windows.
It was time to build a new desktop with all AMD components so I could give Linux a proper try and make future maintenance easier.
I had originally wanted to build a desktop to rival my laptop, but the 12th Gen Core i7 paired with 32GB of DDR5 is still a very capable combination, even if the RTX 3060 laptop GPU was starting to show its age. Since this new build was going to be used primarily for gaming as an HTPC (Home Theater PC), I didn’t need a ton of CPU performance. So I started looking at AM4 components instead of the latest and greatest.
I looked at Newegg, Best Buy, Amazon, and everywhere else I could think of. While there were some good CPU, motherboard, and RAM combo deals available, the cost of building a complete system with new components was starting to add up. I decided to look for used parts and set myself a theoretical budget of $400. I knew the performance I wanted was probably unrealistic at that price, but it’s always good to have a goal.
After contacting several sellers on Marketplace (many of whom never responded, and others who responded only to disappear before we could make arrangements), I eventually picked up a complete working computer with a Ryzen 5 3400G, an ASRock B450M Pro4 motherboard, two 8GB sticks of Corsair DDR4-3200 memory, and a 256GB NVMe SSD. They were asking $250, but I was able to get it for just $180, only 15 minutes from home. It didn’t have a GPU, but the build had officially begun!
Because the Ryzen 5 3400G has integrated graphics, I was able to start experimenting with Linux distributions as soon as I got the computer home. While I had used Nobara on my laptop because of its advertised compatibility with Nvidia GPUs, I had more of a Steam Machine experience in mind this time around. I eventually settled on Bazzite, an immutable Linux distribution that’s much harder to break and offers about as close to a Steam Machine experience as I could ask for.
Even with the integrated Vega 11 graphics, I was able to play Red Dead Redemption 2 at 1080p on the lowest settings. I don’t remember the frame rate, but it was completely playable. It looked terrible… but it was playable.
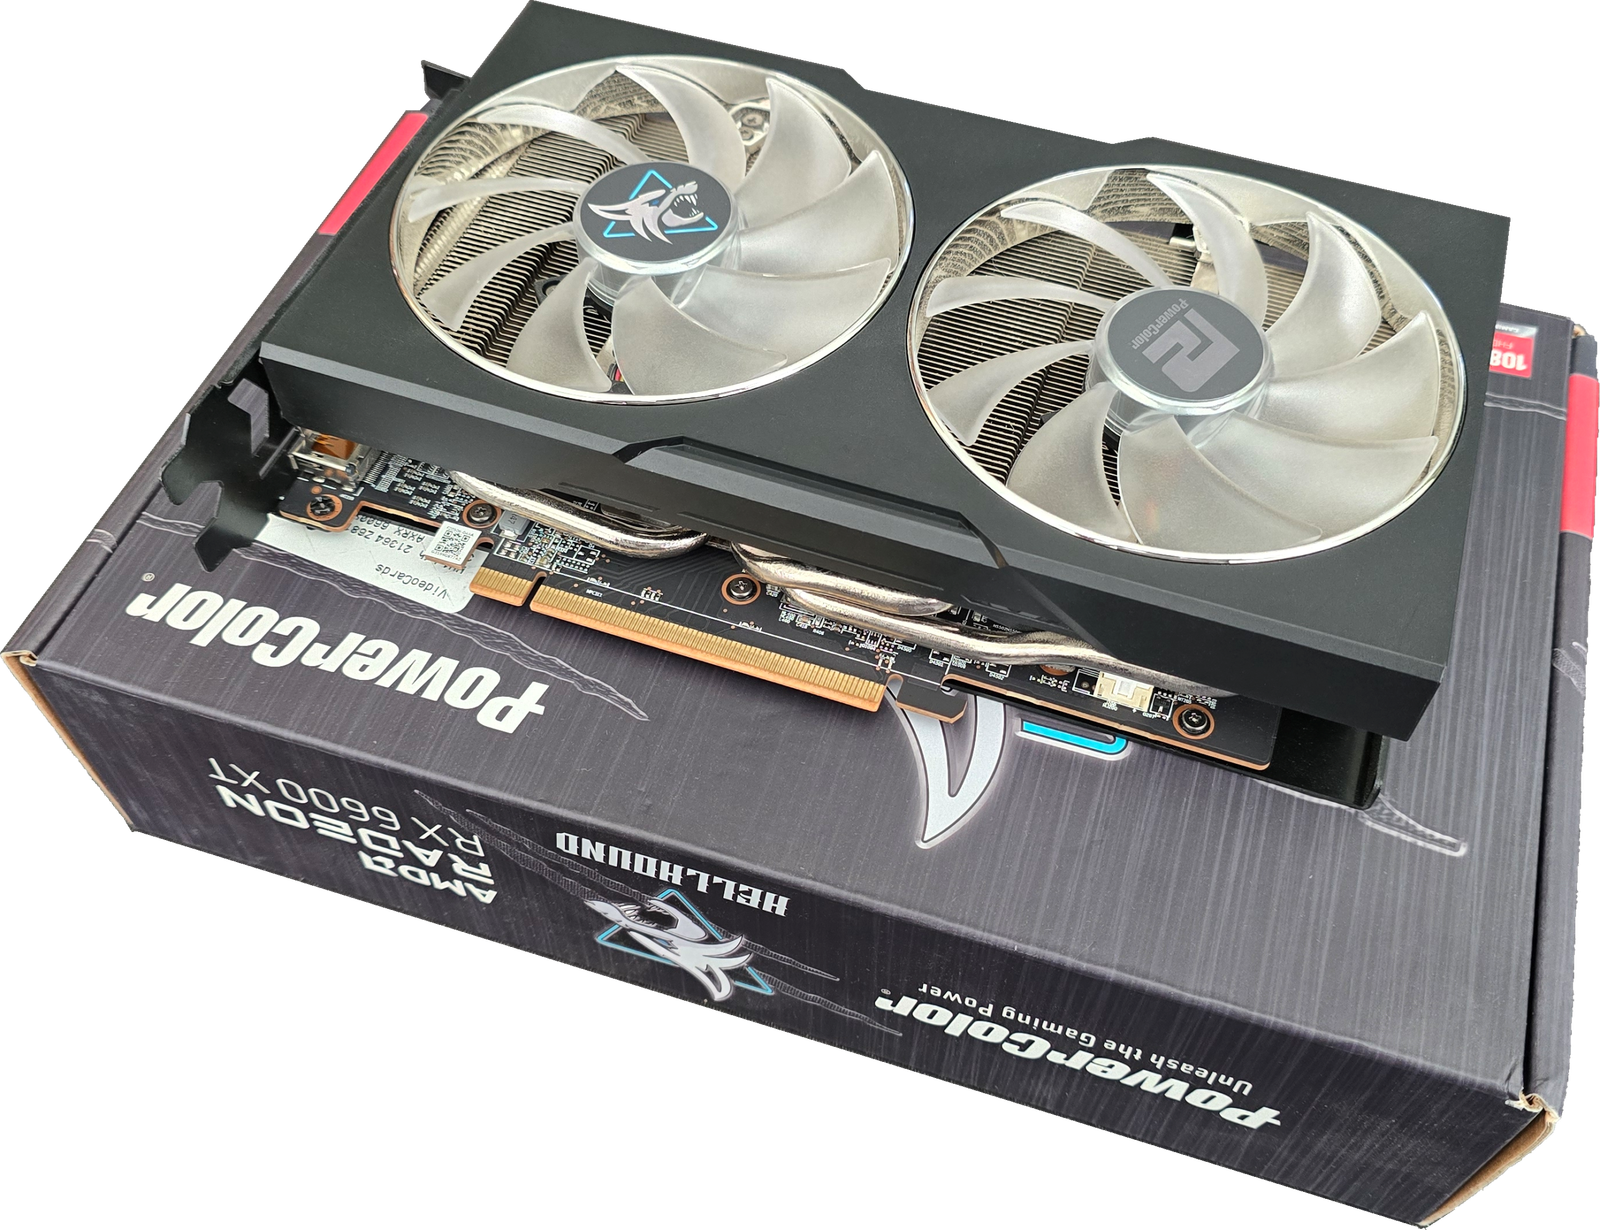
Now that I had my starting point, I needed some upgrades. I was tired of dealing with flaky Marketplace sellers, so I picked up a used Radeon RX 6600 XT with 8GB of GDDR6 on eBay for $143 shipped. I then used some Best Buy rewards points to buy a new Corsair CX750M power supply for just $43.09 shipped.
The ASRock B450M Pro4 doesn’t have built-in Wi-Fi or Bluetooth, so I needed one more upgrade. I chose the TP-Link Archer TX3000E, a high-performance AX3000 Wi-Fi 6 and Bluetooth PCIe adapter that allowed me to connect my Bluetooth headset and controller.
My total was now $399.46, and I was playing Red Dead Redemption 2 at 1080p, 60 FPS, on Ultra settings. I thought I had accomplished my goal within a margin of pennies.
But there was a problem.
The Bottleneck
I was having serious micro-stuttering issues while gaming. I pulled up some performance statistics and found that the Ryzen 5 3400G was pegged at 100% utilization while the GPU was sitting at around 70%.
This is called a bottleneck. It happens when the CPU, RAM, and motherboard can’t supply data to the GPU as fast as the GPU can process it. Ideally, you want to see the GPU running at 99% while the CPU still has some headroom. Since my CPU was maxed out, it looked like I had found the problem. But there was one more thing I wanted to check first.
Resizable BAR… or Not?
Before assuming the Ryzen 5 3400G was just too slow, I wanted to rule out another possibility: Resizable BAR, or Smart Access Memory (SAM) in AMD’s terminology.
One of the reasons I intentionally built an all-AMD system was to take advantage of this feature. Normally, the CPU can only access a small portion of the graphics card’s VRAM at a time, constantly remapping different sections of memory as games load textures and other assets. With Resizable BAR enabled, the CPU can access the GPU’s entire VRAM at once, reducing that overhead and improving communication between the CPU and GPU.
Depending on the game, this can provide a noticeable performance boost, so I wondered if SAM wasn’t enabled and was contributing to the bottleneck I was seeing.
I also kept a Windows 11 installation on the system so I could use troubleshooting software that either wasn’t available under Linux or that I simply knew better.
Once I booted into Windows, I confirmed that AMD Adrenalin was reporting Smart Access Memory as disabled. So I rebooted into the BIOS—or UEFI, depending on your age and vocabulary. I’m old, so I still call it the BIOS even though I know better.
Sure enough, the motherboard was running BIOS version 4.30, which didn’t support Smart Access Memory.
I updated it to the latest 5.70 release, expecting the options for Above 4G Decoding and Resizable BAR to finally appear.
They never did.
After a little more research, I discovered why.
Despite the Ryzen 3000 branding, the Ryzen 5 3400G isn’t actually based on AMD’s Zen 2 architecture like the rest of the desktop Ryzen 3000 lineup. Instead, it’s a Zen+ (12nm) APU, and AMD never added Smart Access Memory (Resizable BAR) support for these processors.
At that point, I knew the missing BIOS setting wasn’t a limitation of the motherboard—it was a limitation of the CPU itself.
It was obvious the Ryzen 5 3400G wasn’t going to cut it in this build, and I was going to have to break my $400 budget.
Enter the Ryzen 7 3700X
I searched for another deal and found what I thought was a pretty good one: a used Ryzen 7 3700X on eBay for $90.80 shipped. It even included a brand-new, never-installed Wraith Prism RGB cooler, which was a nice bonus… and something we’ll come back to later.
Before I continue, I want to quickly compare the Ryzen 7 3700X to the Ryzen 5 3400G and explain why I went this route. I know many people will argue that I should have gone with at least a Ryzen 5000-series CPU.
Although the Ryzen 7 3700X launched back in 2019, it’s still an outstanding value on the used market and a much better match for the Radeon RX 6600 XT than the Ryzen 5 3400G.
The 3400G was designed as an APU, meaning part of the chip is dedicated to its integrated Vega graphics instead of CPU performance. That left it with just four cores, eight threads, and only 4MB of L3 cache.
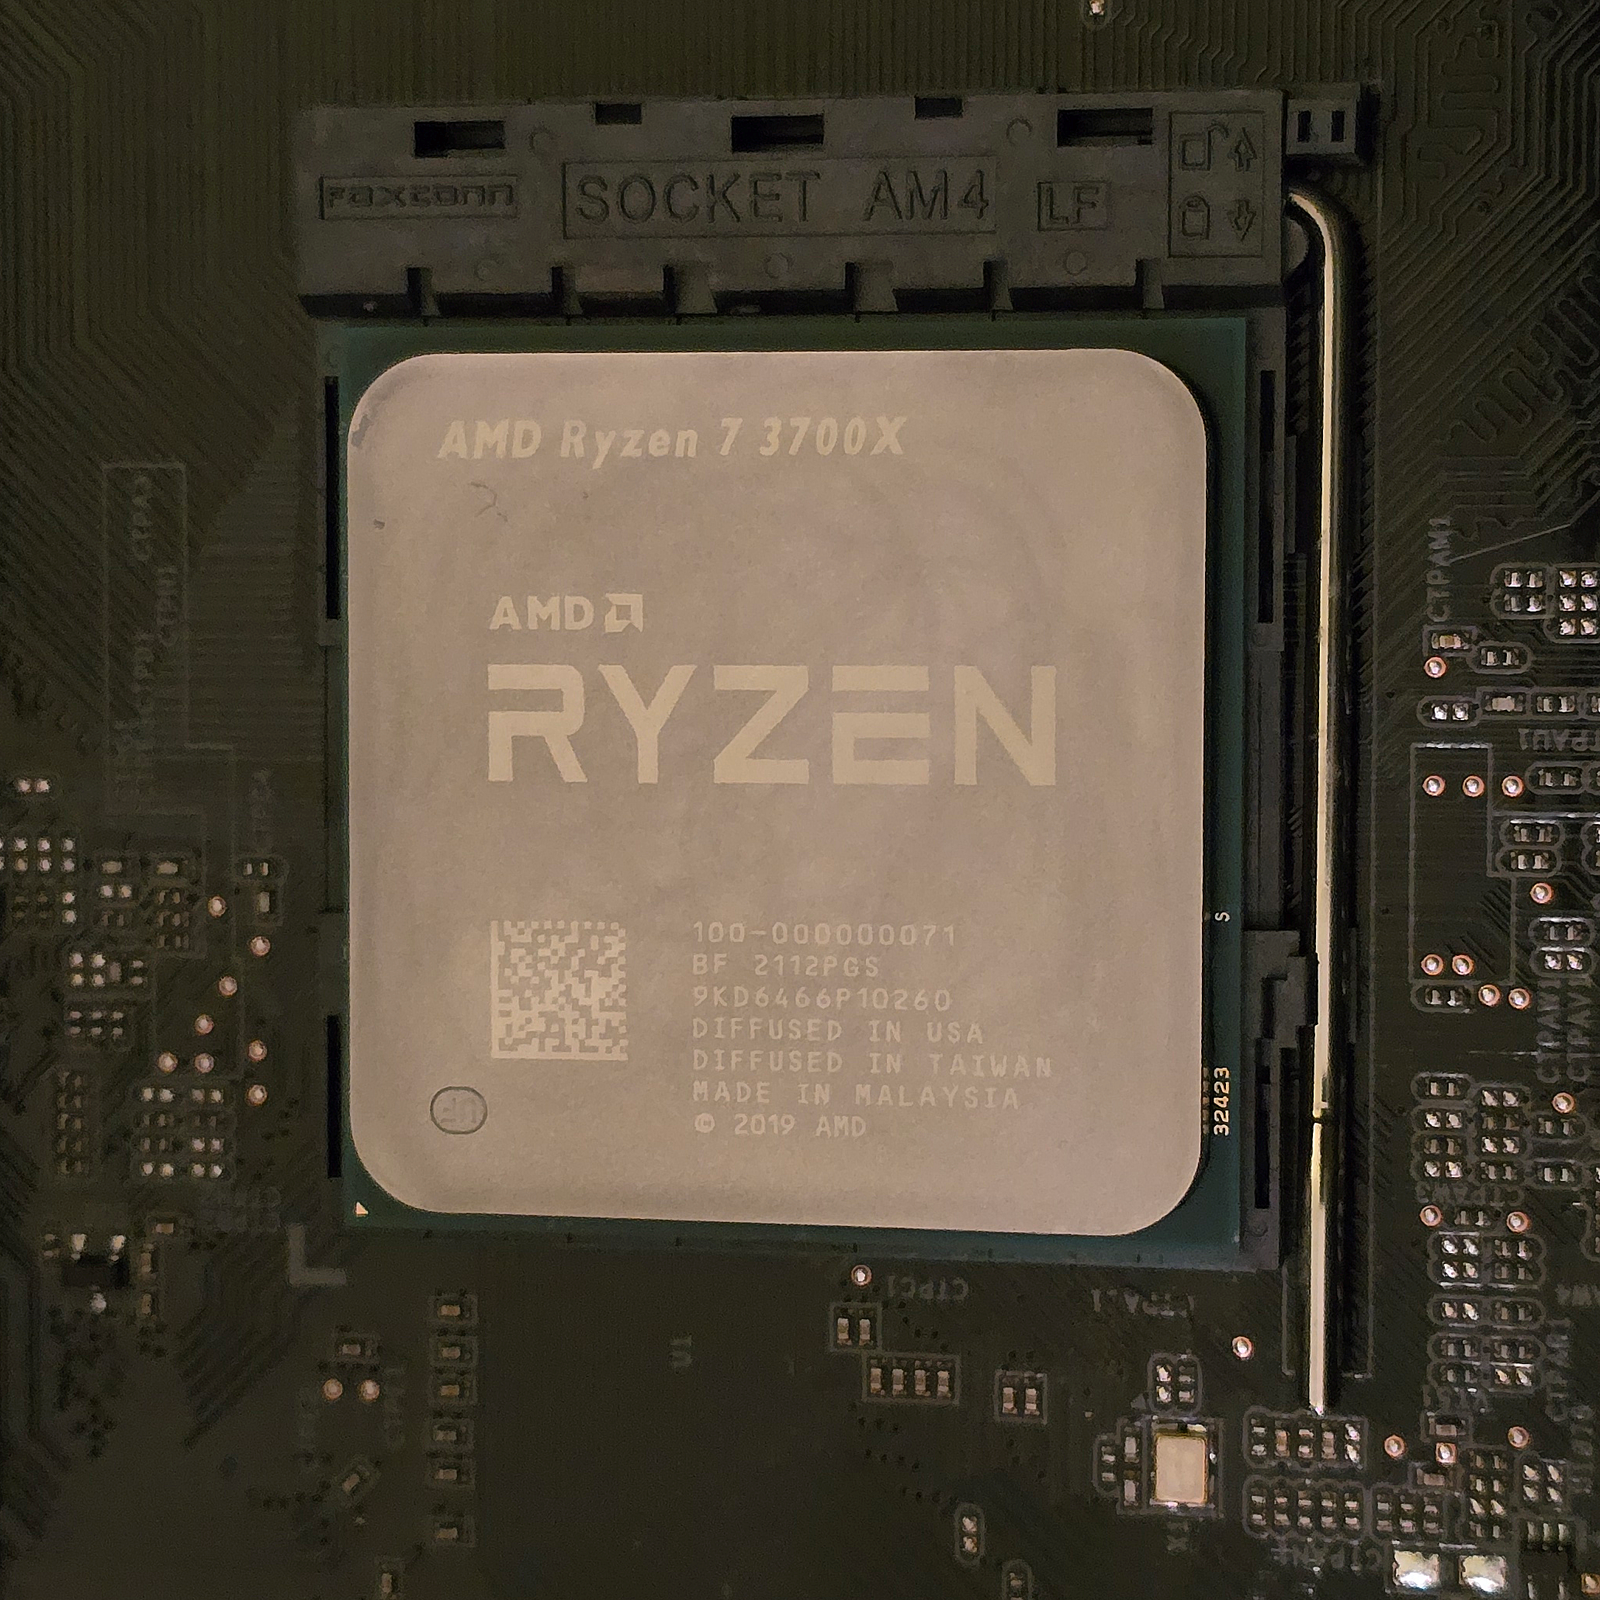
The 3700X, by comparison, offers eight cores, sixteen threads, and a much larger 32MB of L3 cache, giving it a lot more headroom in modern games. It also supports Smart Access Memory (Resizable BAR), something the Zen+-based 3400G never did despite wearing a Ryzen 3000-series badge.
Could I have bought a Ryzen 5000-series CPU? Absolutely. But that would have pushed this build well beyond the budget I had set for myself. The goal wasn’t to build the fastest AM4 gaming PC possible. The goal was to build the best Steam Machine I could for around $500.
I installed the 3700X, but I didn’t have the mounting brackets I needed for the Wraith Prism cooler. So I installed the Wraith Spire cooler that came with the 3400G instead.
The thermals were excellent.
Gaming was excellent.
I was now at a total of $490.26, and I had a Steam Machine before there was a Steam Machine.
But Then Fate Happened…
I couldn’t leave well enough alone.
I wanted to install the Wraith Prism cooler because I had it. That decision cost me another $5 for the mounting brackets, and from there everything started to snowball.
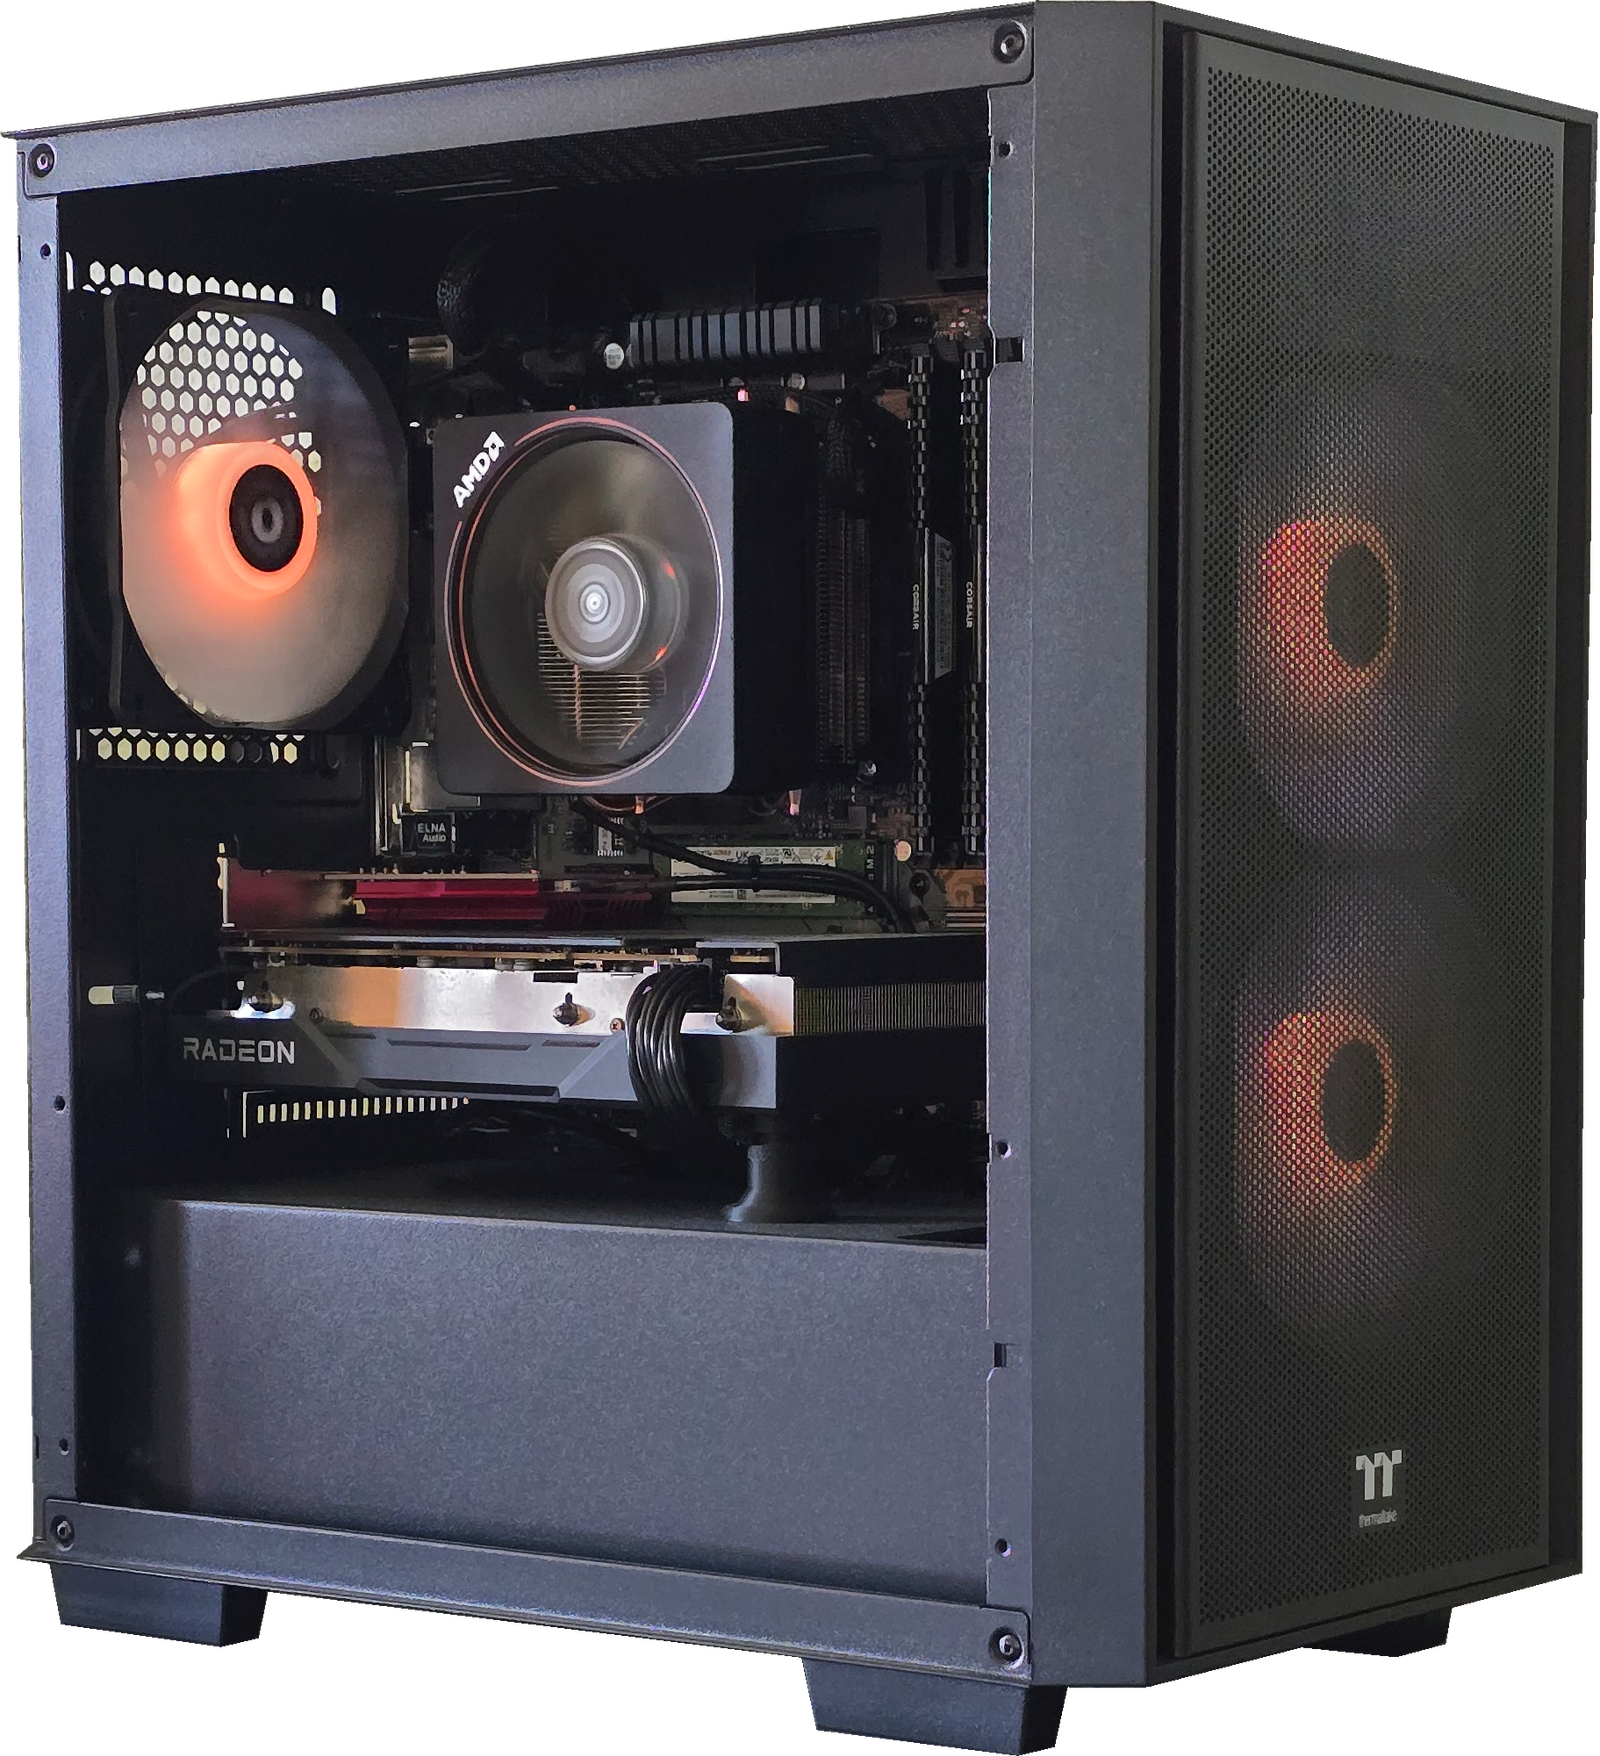
I had originally considered building the system without any RGB lighting, but once I had the Prism cooler, I started thinking it would look pretty good in a case with a tempered glass side panel. So I ordered a new case with a tempered glass side panel and ARGB fans, then moved everything over.
Everything was going smoothly until I made one costly mistake.
I accidentally plugged the Wraith Prism’s 12V RGB connector into the motherboard’s 5V ARGB header.
At first glance, the connectors look almost identical. They even use the same alignment arrow. The 12-volt RGB connector uses four pins, while the 5-volt ARGB connector uses three. However, the ARGB connector still uses a four-position housing with one position left empty, so the connectors will physically fit even though they aren’t electrically compatible. I probably should have caught it, but when you’re working inside a cramped case, it’s surprisingly easy to plug the connector into the wrong motherboard header because it looks correct at first glance.
If you’re unsure, take a minute to check your motherboard manual or the labels printed next to the headers on the motherboard itself. It only takes a few seconds, and it can save you from making the same expensive mistake I did.
The result?
I burned out the motherboard’s 5V ARGB controller.
All of the fans were now stuck in a fixed blue and purple pattern, and the motherboard could no longer control any of the lighting.
The only way to fix it was to bypass the damaged controller completely. That meant buying an ARGB hub and an internal USB hub so the hub and Wraith Prism software could communicate with the system.
Just like that, I was about $100 over what I would have spent if I had never added any RGB components.
To make matters worse, I could never get OpenRGB to load automatically under Linux. Every time the computer booted, I was greeted with a retina-burning light show until I manually opened OpenRGB and loaded my saved profile.
After fighting with the RGB controls under Linux for a few hours, I finally admitted defeat.
I’m running Windows 11 again.
It boots straight into Steam Big Picture mode, SignalRGB loads my lighting profile automatically, and everything just works.
It’s possible another Linux distribution would have been a better fit for what I was trying to do, but one of the things I like most about Linux is its simplicity. Ironically, I managed to build a system that wasn’t very simple anymore.
I may eventually rebuild this PC without any RGB components at all. At this point, though, buying more parts would only push the project even farther beyond the budget. Until then, I’ll happily keep gaming at a stable 60 FPS—which is all my TV supports anyway—regardless of what operating system I have to use to access my Steam library.